
[show_post_categories show=”category” hyperlink=”yes”]
[show_post_categories show=”tag” hyperlink=”yes”]
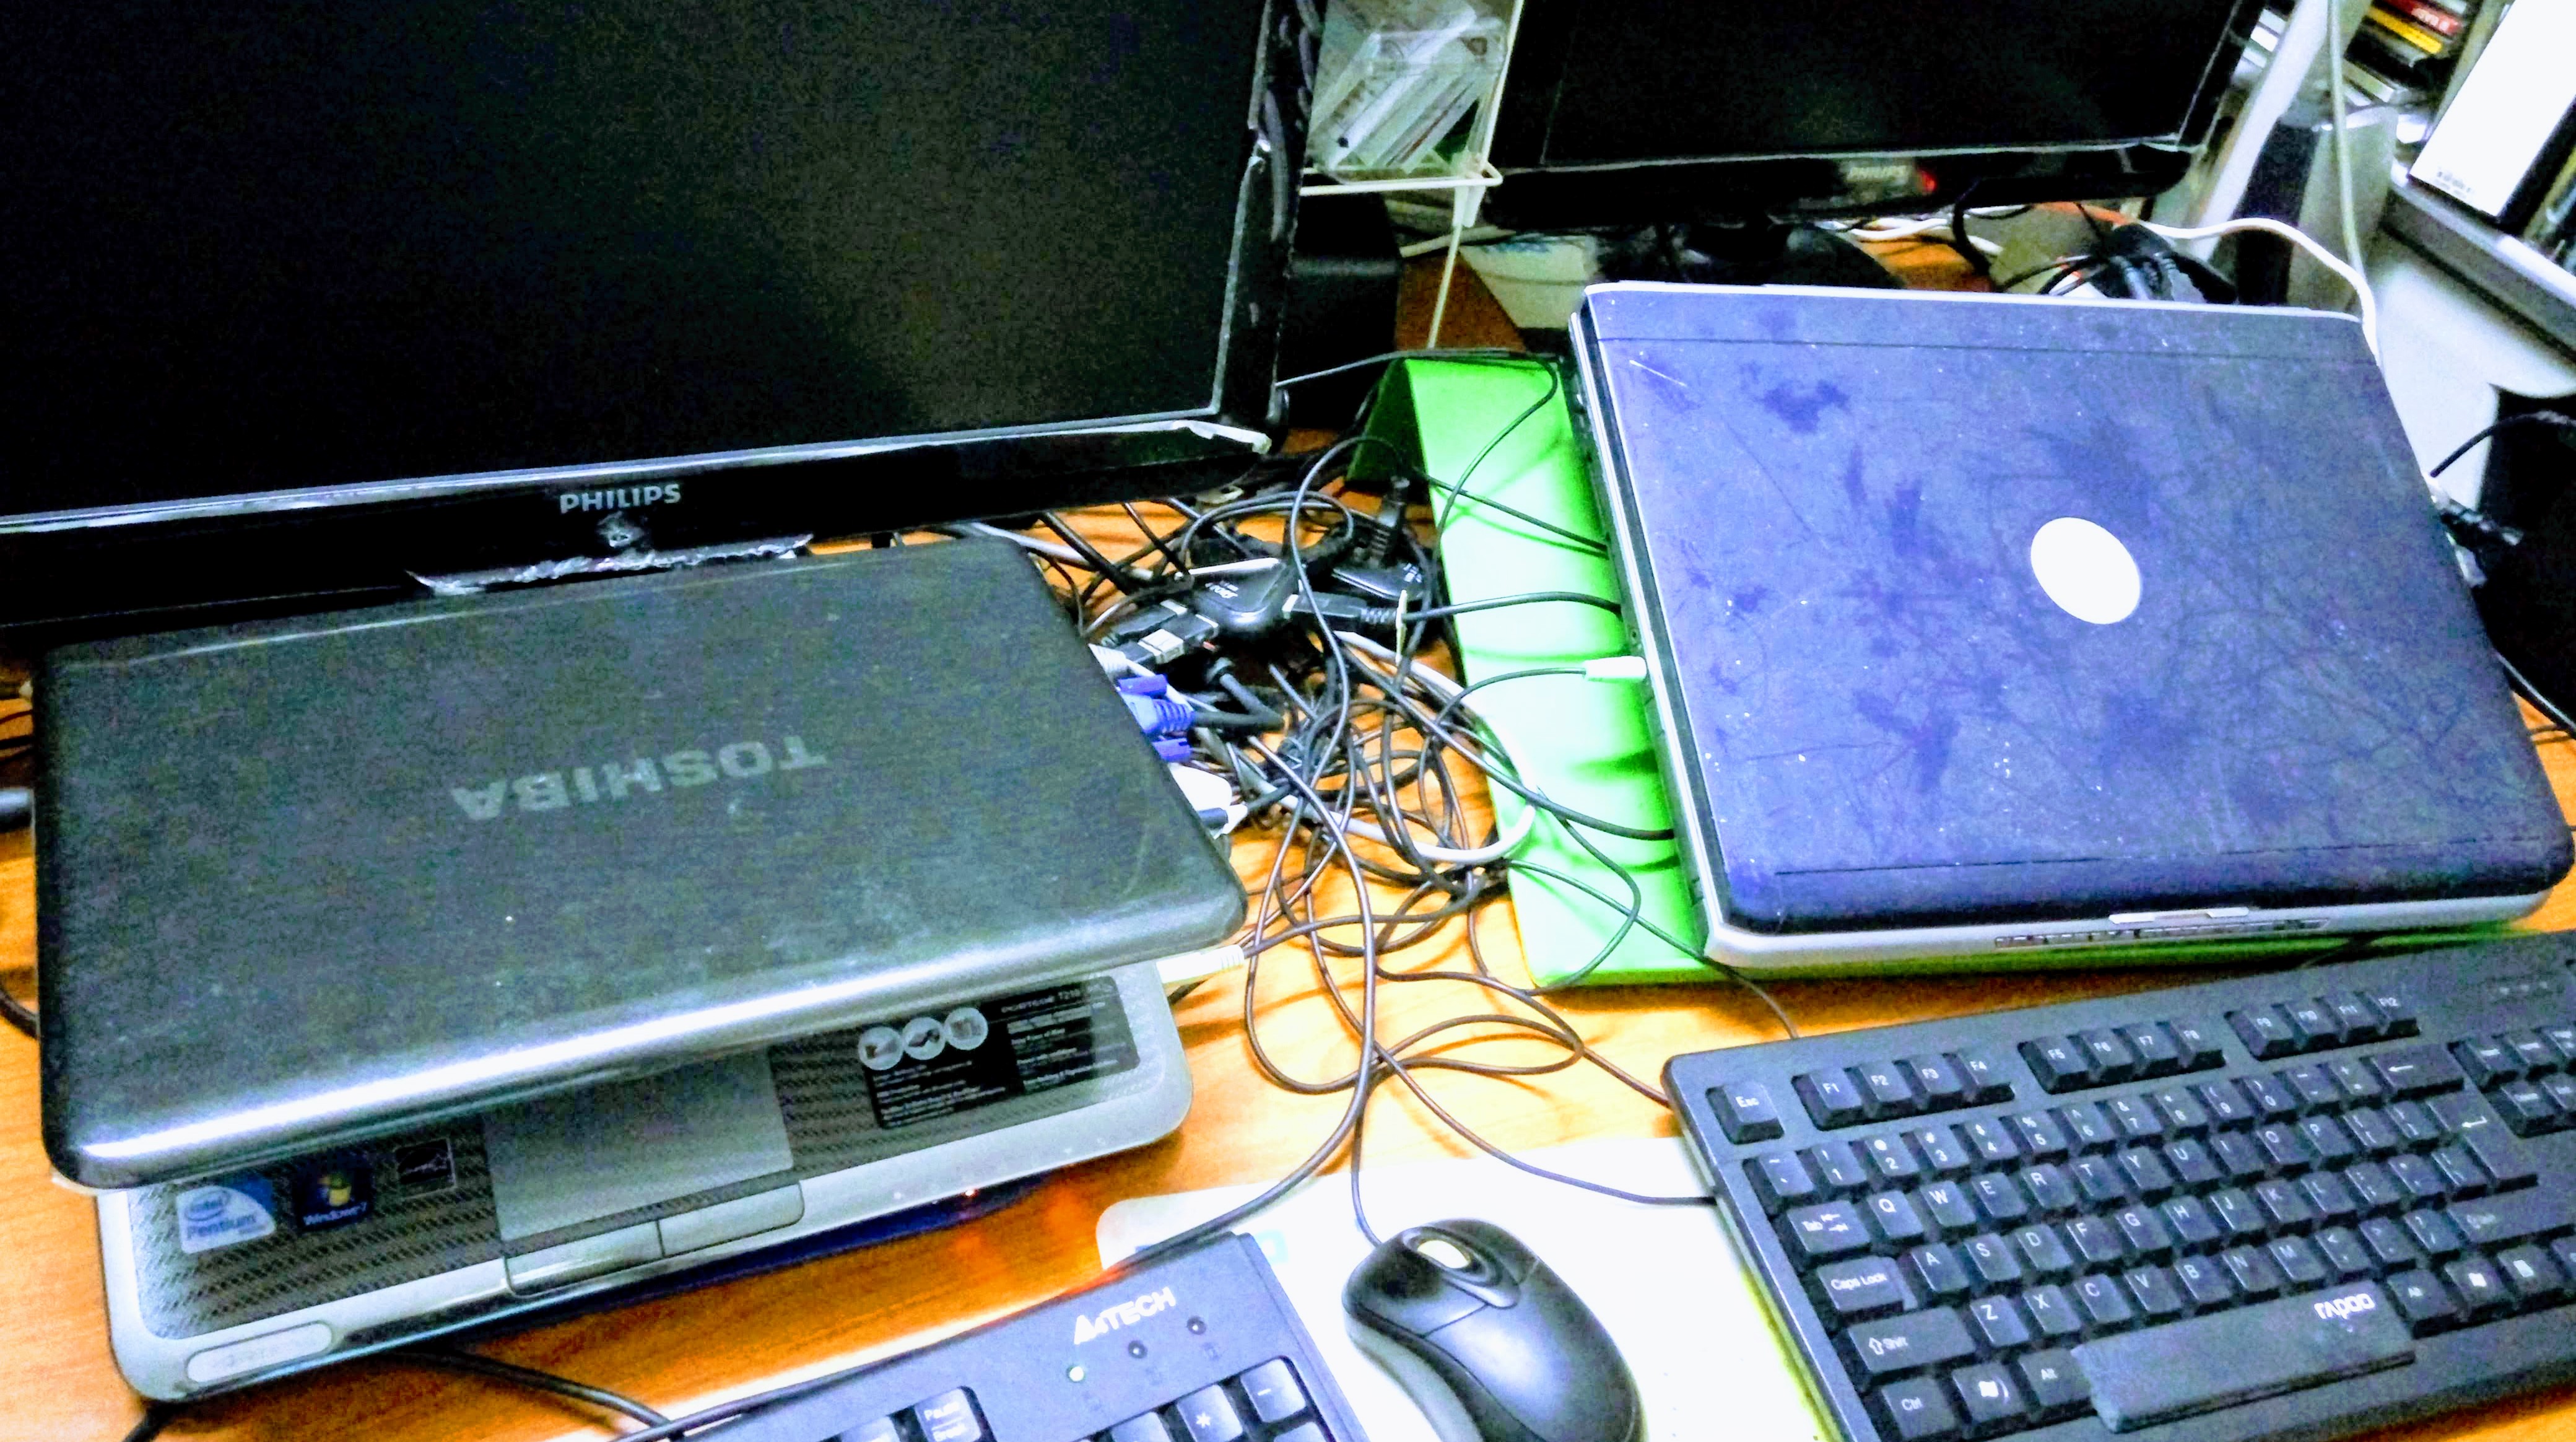
In the previous article, I covered the basic information relating to the preparation one needs to do in order to set up Puppy Linux on a USB flash drive that is bootable. I also gave the rationale for using Puppy Linux and shared some examples on how revived old PCs / laptops could be deployed. In this article I will share my experience in creating such a bootable USB flash drive, comes complete with a working Puppy Linux distribution.
Unlike most other Linux distributions that have the USB flash drive bootable feature, Puppy Linux has an added advantage. Puppy Linux installed on a bootable USB flash drive is in fact persistent in nature. What this mean is, unlike “live” bootable USB flash drive of, say LXLE, where once a session is over, none of the updates, software installed are kept, Puppy Linux will keep all the updates, software installations etc. I guess these are kept in the “personal file” as described in the last segment of this article. So you can keep updating Puppy Linux!
How to set up a bootable USB flash drive that can run Puppy Linux?
- Launch Unetbootin and select “Diskimage”. Keep the default “ISO” option.

- Click the “ ….” tab to the right of “ISO”. Navigate to the folder with the Xenialpup iso file (for this example it is saved in “Downloads”).

- Put something like “100 Mb” for the “Space” used to preserve files across reboots”, since Xenialpup is Ubuntu-based.
- Under “Type”, make sure “USB” is selected. Plug in your USB flash drive, & make sure it is mounted (you can see this using File Manager).

- If you don’t see your USB flash drive listed, go back to “Type” and reselect “USB”. It will look for the newly plugged in USB flash drive and under “Drive:” something like /dev/sdc1 will be shown.
- Click “OK” and the installation of a bootable USB flash drive with Xenialpup OS will run automatically.
- If your USB flash drive has any files on it, this message will show. Click “Yes to All” [Warning: this will wipe clean an used USB drive!]. Wait till the installation process is completed.

To run Xenialpup, reboot the laptop. Keep pressing and releasing F12 (the function key, F12 works for both my Dell and Toshiba laptop, different brands may have different function key for this, but there is surely a function key to bring up the boot up option screen of the computer) till the screen like the one below is show.

Use the arrow key to move to “USB Storage Device” or something like that and press Enter. That’s it!

The OS will load as shown on the screen captured above.
You will see a screen with a cute puppy when loading is done! Select “Xenialpup” and hit Enter on your keyboard.

The OS will load automatically. When the loading process is completely done and the OS is successfully loaded the screen with a cute squirrel will be visible (as shown below). You are then set to rock with the old laptop / PC again!

What software are supplied with Xenialpup?
Puppy Linux is not just a distribution of Linux. It is a combination of different parts of different Linux distributions and thus comes with lots of pre-selected-installed-with-OS software. It works on the RAM of your computer and thus it can be very fast if you have 1 Gb of RAM or more.
Xenialpup comes with almost all the software and applications that you will need. These are grouped into categories such as Desktop, System, Setup, Utility, Filesystem, Graphic, Document, Business, Personal, Network, Internet, Multimedia and Fun. You can obtain additional software clicking the cute little puppy at the Desktop, called “quickpet”(as shown below). Expert users of Puppy Linux have been configuring additional applications and software specially optimized for Puppy Linux and shared with the community of Puppy Linux users. These are called “.pet”.

If you need to read Chinese text like I do, you will appreciate one of these “pets”, CJK_fonts-ttf.pet that you can download and just click to instal.
Likewise, you can download other software via “quickpet” such as Vivaldi browser, LibreOffice and install them with just a click (but make sure that you choose the correct version for your old laptop / PC, both of my old machines were based on 32 bits architecture and softwares for 64 bits machines will not work on them).
What you are expected to do?
Puppy Linux will automatically detect what sort of hardware that your old laptop / PC has and will do its best to optimize these for your OS to work. But two areas that you may need to do some tweaking are Internet settings and sound settings.

The first screen you will see in the Quick Setup screen is shown above. You can set up the country, timezone etc. here. You may want to enable Firewall and Time from internet too.

For Internet settings, the OS auto-detects what internet connections that you might have (such as wired connection via RJ45 cable or wireless-WiFi). There is a choice of setup tools but the simplest is to use Barry’s Simple Network Setup.

In my case (as shown above), By selecting “Interfaces” tab and clicking on “eth0” tab (located at the bottom right of the box, with “wlan0” and “windows”), the app will try to connect with the internet over the network cable connected to my broadband router and a “success” screen will show. Similarly you can connect to WiFi using the same way.

For audio, you may need to configure the audio card. Go to Menu->Setup->Alsa sound Wizard.

Select the Multiple cards section (No. 3). Select a sound card and select the “Test Sound” tab below. A new window will open. You should hear sound generated on the left and right speakers follow by the bark of a puppy. If you do not hear anything, put the volume to maximum and repeat.
The only other setup you need to do is the printer. As there are many brands, it will be best to be general here. Go to Menu->Setup->CUPS Printer Wizard and follow the instructions to add a printer. Don’t forget to hook up your printer first.
[I must say, if you have a HP MFP laser printer, you may not be able to use CUPS Printer Wizard effectively. This is the only grouse I have with Puppy Linux and it is not its fault but rather HP’s complex number of models! At the time of writing, I have still not completely installed a proper driver for my HP MFP 1132 printer & scanner.]
Don’t forget to save the personal file!
When you need to exit, unless you are just evaluating and not saving the applications and software you have installed, you should save your personal files. Here is why you are advised earlier on to use a USB flash drive that is at least 8 Gb (16 Gb and higher is even better). The “system” file will need at least 1 Gb to work well (the more the merrier) and there is another partition that is made by the OS to serve as “swap”. I think “swap” as the name suggests, serves as the swapping of memory that helps the OS to run on RAM by “renting” or swapping memory on the fly (when you switch / load different software, for example). Although the system says that you will need to have at least another 500 Mb for your personal file, this is the bare minimum. I personally prefer the personal file allocation to be as big as possible to accommodate all the software and applications that I want to install. It will also carry my personal data files. But with the increasing use of cloud storage, I hardly store documents such as this piece of writing on the laptop, preferring Google Drive instead.
Thus if you are running the entire work from the USB drive, it is wise to have as big a memory as possible. I had chosen to save my personal files on the hard disk of my laptop to speed things up (and on account that I used only a 4 Gb USB flash drive!). But putting your personal files on the USB flash drive, you are truly portable! Provided that a host’s PC or laptop allows you to access the boot option (which most would), you can bring your entire computer on a USB flash drive and work on a “borrowed” PC such as at the internet cafe or a friend’s laptop safely.
With the second or third sessions of your usage, Puppy Linux will load a lot faster as it needs not tweak the system further as all the settings are saved before. So don’t pull the USB flash drive until the laptop / PC has shut down fully!
Happy Puppy Linux-ing!
Woof woof!