
[show_post_categories show=”category” hyperlink=”yes”]
[show_post_categories show=”tag” hyperlink=”yes”]
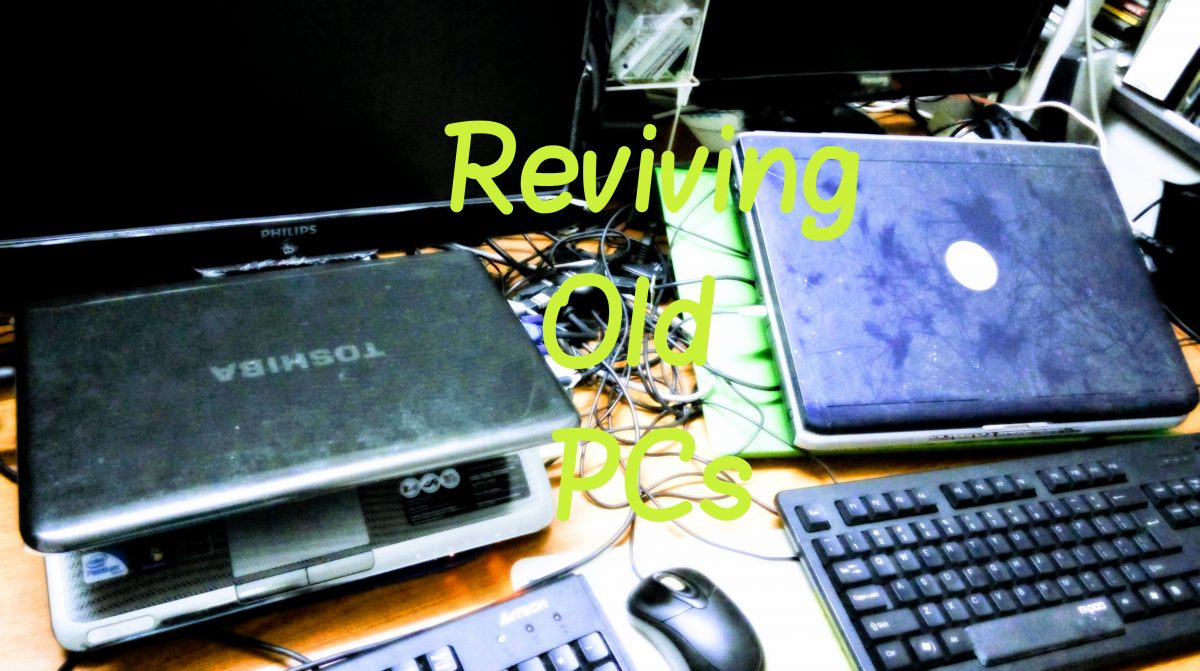
You have that 7-year-old PC / laptop lying around gathering dust. The Windows operating system (OS) is too old but your hardware cannot cope with the latest Windows OS. Worse, the web browser is old and the old OS cannot support the new version of the browser anymore. Thus there are security issues which are stopping you from accessing some crucial websites. You are thinking that this old laptop is as good as junk.
You have heard of Linux which is free (well most distributions are indeed so). However you are under the impression that you will be required to know a lot of programming stuff to use Linux. And you have also heard that the most popular and user-friendliest of the Linux distribution, Ubuntu is known to be getting heavy on resources. Thus Ubuntu may not work well with your old PC / laptop.
But hold on. Don’t junk that old laptop yet. There is a way to get more mileage out of the old workhorse. It is called Puppy Linux. Here, I share my close to a decade of experience with Linux, especially on Puppy Linux.
That’s life still in that old piece of hardware!
I cannot do any programming, I don’t know much about HTML, less so about php or java. But you don’t need to know these to use Linux. I had switched from Ubuntu to a light version distribution of it called LXLE in 2011. While evaluating the latest LXLE version (based on Ubuntu 16.04 LTS aka one version behind the latest, LTS stands for Long Term Support, about 3 – 5 years) I discovered that although the OS worked well with my 8-years-old Toshiba Portege T210, it could not be loaded on my 11-years-old Dell Inspiron 1520!
I used to run my old PC (bought in 2004) on one of the lightest Linux OS, Puppy Linux. Puppy extended the usefulness of the old Dell for years till the PC’s motherboard died in 2017. Hence it is a no brainer for me to try the latest Puppy Linux on the 11-years-old Dell laptop. The latest version of Puppy Linux, Xenialpup is also based on Ubuntu 16.04 LTS. And it could be loaded on the 11-years-old Dell!
As long as the old PC / laptop has at least 1Gb of RAM (Puppy Linux could even run on 500 Mb RAM) and could run Windows XP before, it will be able to run on Puppy Linux. For older machines, there are even versions of Puppy Linux with smaller footprint that could ran on low level of RAM, as low as 256 Mb. A list of RAM-operated Linux distributions is available at Wikipedia, but I have only tested a few of these and found Puppy Linux to be best supported and relatively user-friendly .
How can I deploy revived old PCs / laptops?
When I commenced on operating a university college as its CEO in 2015, I faced the problem of dealing with many seemingly obsolete PCs. Most of these PCs were still in good physical working order, only the operating systems were out of date. This meant that most could not cope with the demands of resources heavy design and editing softwares. But, for simple web-browser-based usage such as searching for library information, wordprocessing, keying data etc. these old machines, if their OS could be updated via Linux could have a second bout of useful lives.
Together with my institution’s then Head of IT Services, we embarked on a small project to revive as many of these old machines by changing the OS from Windows to Linux, using the LXLE distribution which I was already very familiar with. Here are some examples of how we redeployed these revived machines:
- As data capturing device for marking the attendance of staff, tracking keys to rooms & tracking of tools at the workshop:

Google Sheets can be hooked up with a barcode scanner to capture data from barbodes. 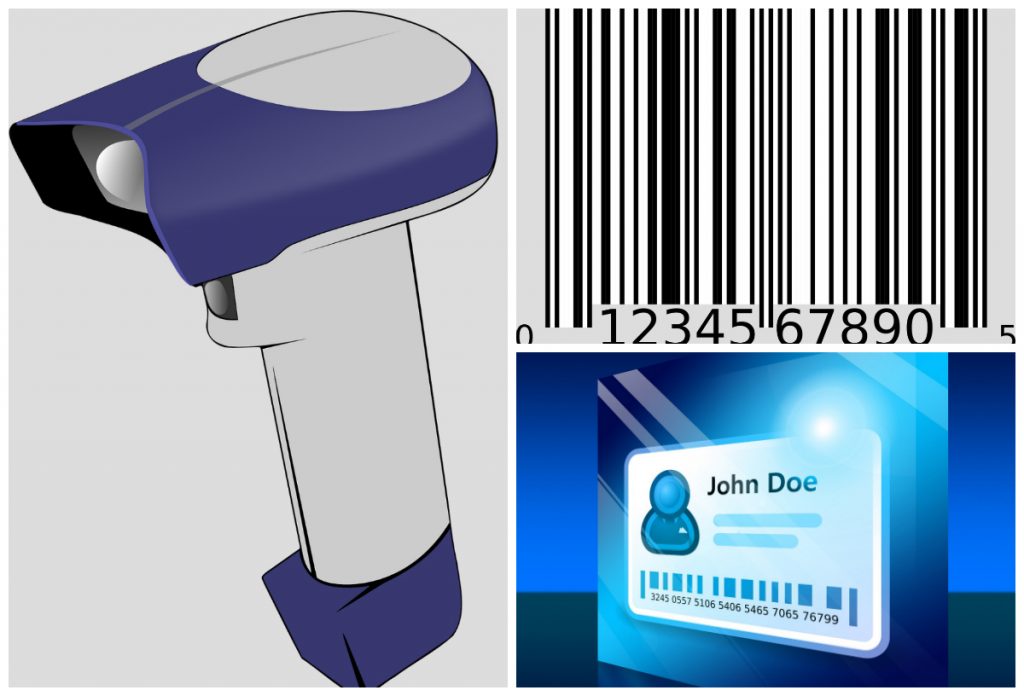
Barcodes on ID cards & cards attached to keys and tools are captured & recorded in Google Sheets for admin purposes. We sourced for barcode readers (RM180 – RM350 per item) and hooked these up with a Google Sheets. Users just have to scan their staff identity cards to have their attendance recorded. The same set up could also track keys to rooms where a user just need to scan the barcode on the card that came with the key (or tool) and then his/her own staff/student identity card to have the record taken.
- For students to fill in different forms created using Google Forms:

Almost all student admin work involving forms were converted to data capturing via Google Forms at the institution I managed. I moved as many of the routine administrative tasks to Google Docs / Sheets / Form as possible to cut down on paper usage and to have almost instantaneous capturing of data. Thus revived PCs were placed at strategic locations such as the Registry, the Library and the Student Recruitment office for this purpose.
- As terminals for accessing information at the library:
For accessing local server’s information (of the institution’s library) and on web-based information and resources, these revived PCs, with up-to-date web browsers could be used effectively. - For general usage of students in computer laboratories:

Revived PCs were deployed for general usage by students of the university college. We refurbished the hardware of some of these old PCs to have higher RAM and deployed them at general computer laboratories for students to use for writing, doing email, data logging, doing desk research on the internet etc.. This allowed us to reserved the new PCs with resource heavy software (for design, programming and visual editing work) in other locations specifically for classes requiring such softwares.


The above are just some obvious examples of how redeployment of revived PCs / laptops can be implemented in an education institution’s setting. For private or business usage. The revived old PCs / laptops can, at the very least, used as a data entry terminals, extra desk research PCs and even playing presentation of videos or Powerpoint slides etc.
What you need
I shall confine this article to my experience with Puppy Linux’s Xenialpup version. But most of the steps are applicable if you choose other versions / Linux distribution.
In terms of software here are the ones that you need to download.
- The image (iso format) of the OS, Xenialpup. Don’t worry if you do not know what iso do. Part (b) shall cover this.
- Download and install a copy of Unebootin, the little application that allows you to write your OS onto a USB flash drive. There are versions for Windows, Linux and Mac. The instructions to use Unebootin will be covered in a section below.
To install Unebootin for Windows is easy. It comes in a .exe file, so just click on this file.
For Linux users, there is a bit more work to do:
– Note where you have downloaded Unebootin (it will be a file with a name like unetbootin-linux-661.bin). Usually this will be the folder “Downloads”
– Alt-x to bring out the Terminal.
– Type (without the quotation marks) “cd Downloads” or the exact location where you’ve the file.
– Type “chmod +x unetbootin-linux-66l.bin” or whatever name the downloaded file is called to make it executable. (you can also do the same to change the attribute of this file in File Manager: highlight the file->Right click->Properties->Permissions->Execute (change it to “Anyone”))
– Type “./unetbootin-linux-661.bin”
– The small application will be installed.
(For making a .bin file executable & run it, I followed instructions from this site)
For hardware, you will only need a USB flash drive. While I used an old 4 Gb drive, you should use one that has at least 8 Gb capacity with 16 Gb being even better (as we shall see later why this is so). If you are using an old USB flash drive, you need to know that during the “burning” of the iso file, your existing data could be wiped out.

In the next article, I will cover the details on how to go about creating a bootable USB flash drive containing the entire Puppy Linux OS. I will also share our experience on how best to configure the OS so that it works well with an old laptop.